Wagtail
Tip
To log into the admin interface for our Wagtail sites,
append /cms/ e.g. https://www.hatherleigh.info/cms/
Configuration
Start by creating a home page.
Browse to Settings, Sites and delete the default site.
Create a new site and set the Root page to the home page you created in step 1.
Blocks
RichTextBlock and prose
description = blocks.RichTextBlock()
To use prose:
Add the
prosekeyword to the HTML element.Use
self.descriptionon it’s own i.e. do not useself.description|linebreaksbr.
<div class="max-w-4xl mx-auto mt-4 prose text-xl leading-relaxed text-center text-purple-800 sm:mt-5">
  {{ self.description }}
</div>
Warning
If you add prose to <p> tag, then the paragraphs will be
appended using new <p> tags. These <p> tags won’t
include prose.
To solve this issue, make sure to add prose to a div!
Documents
We use SENDFILE for documents…
settings/production.py:
# https://docs.wagtail.io/en/stable/reference/settings.html#documents
WAGTAILDOCS_SERVE_METHOD = "direct"
Note
Really not sure what to do with WAGTAILDOCS_SERVE_METHOD.
I tried to use serve_view with django-sendfile and couldn’t
get it to work.
Domain
This is the base URL used by the Wagtail admin site:
# settings/local.py
WAGTAILADMIN_BASE_URL = "http://localhost:8000/"
# settings/production.py
WAGTAILADMIN_BASE_URL = DOMAIN
Home
For the Wagtail home page URL, see Menu
Django
If your Django project is looking for login, then try this:
from django.views.generic import RedirectView

re_path(
    r"^login/redirect/$",
    view=RedirectView.as_view(
        pattern_name="wagtailadmin_login", permanent=False
    ),
    name="login",
),
If your Django project is looking for project.home, then try this:
from django.views.generic import RedirectView

re_path(
    r"^project/home/redirect/$",
    view=RedirectView.as_view(url="/", permanent=False),
    name="project.home",
),
Editor Guide
A guide to using the Editor is here https://guide.wagtail.org/en-latest/
Tip
You can also access the guide through the CMS navigation bar. Go to Help > Editor Guide
Icons
Click Available icons to view the list…
Images
Tip
To decide on the width for an image, display the site on a large
screen and check the size of the image. Use this for the width
e.g. {% image latest.picture width-600 %}
Tip
Convert all images to format-webp (see below for details)…
{% load wagtailimages_tags %}

{% image self.logo format-webp preserve-svg class="stroke" %}
Tip
Add preserve-svg so Wagtail doesn’t try to convert SVG images.
Will render as:
<img alt="My Logo"
  class="stroke"
  height="86"
  src="/media/images/my-logo.format-webp.webp"
  width="250">
To keep the original height, use original:
{% image self.logo original %}
Warning
We do NOT want to do this. Convert to format-webp instead!
To set the width, add height-:
{% image self.logo height-140 %}
To make a square thumbnail:
{% image self.logo fill-80x80 %}
To get the image URL, add file.url e.g:
{{ self.logo.file.url }}
Tailwind Background URL Workaround
To workaround the Tailwind Background URL Issue, use a
style for the background-image e.g:
{% image self.background format-webp as background_image %}
<section class="h-[500px] bg-cover bg-center text-white" style="background-image: url('{{ background_image.url }}')">
Issues
Page
The Promote tab includes the Meta description:
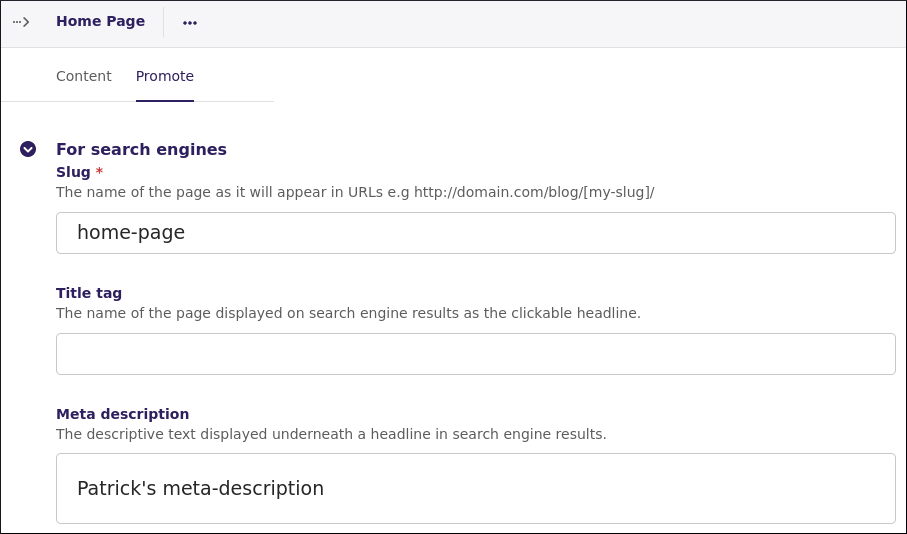
To display the Meta description in your template:
<meta name="description" content="{{ self.search_description }}"/>