Microsoft Office 365
Links
sys-microsoft
email
See Setting up email addresses and shared mailboxes or…
To create an email address for a user, create the user in the Azure portal (Microsoft Azure), then log into the Microsoft 365 admin center https://portal.office.com/
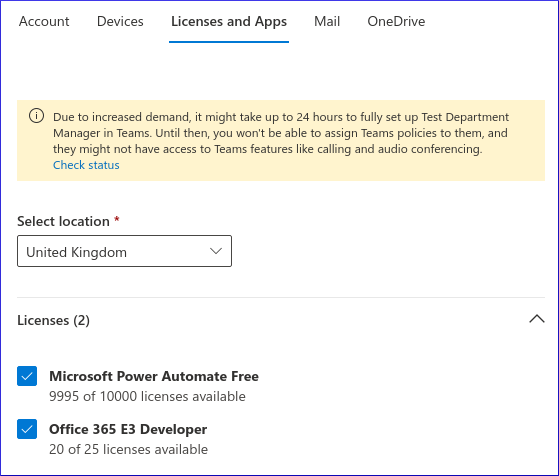
Assign a couple of licenses:
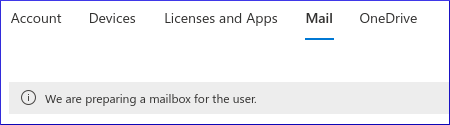
Clicking on the Mail tab and you will see preparing a mailbox:
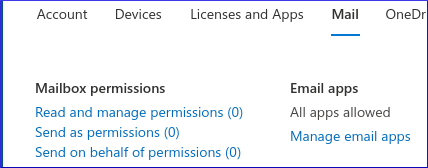
Finally… you will see the Mail details…
Office 365
To enable OneDrive, add the following licences:
Follow a group in Outlook
If needed in the future you can subscribe to a group from you desktop by following these instructions: Subscribe to a group in Outlook
Or you can check you are subscribed (and subscribe if you are not subscribed) by following these instruction (which are what we actually did in the end!)
Go to Office 365 Online
In Groups - click the Group name “Office” - This was the group whose emails were not being sent to your Inbox
Click Conversations
To the RH side click the down arrow by Joined
Select “Subscribe to this group by email”
Send a test email to the Group email address. It should arrive in both your Inbox and the Office group
Note
if it says “Unsubscribe from emails for this group” then you are not unsubscribed so check your desktop version, if subscribed there, call us!!
A screen shot for the above instructions to help (I hope):

Setting up email addresses and shared mailboxes
Sign in:
https://portal.office.com/AdminPortal/Home#/homepage
Add a user
Go to Users/Active Users then “Add a user”
Create the email address e.g. webmaster@hatherleigh.info
Add Domain
Click Show all/Setup/Domains/Add domain
Enter a Domain name e.g. hatherleigh.info
Create a MX record to match the Office setting given
Click Verify - this may take a while as the DNS has to propagate
Go back to Setup/Domains and select the domain e.g. hatherleigh.info
Click “Check DNS” and if there are any errors add the required records to your hosting provider
Modify User
Now go to Users/Active Users and select a User e.g. webmaster@hatherleigh.info.onmicrosoft.com
Change the Domain Name to the new Domain e.g. hatherleigh.info
Get the free portal offer
Go to Billing/Purchase services/Non profit
Choose Office 365 Business Essentials (Nonprofit Staff Pricing) - free
Pay £0.00 but they collect your card details
Add the App to the Users - Go to Users/Active Users then select the Users - Select the Licenses and Apps tab - Under Licenses tick the Office 365 Business Essential App - Save the changes and Exit
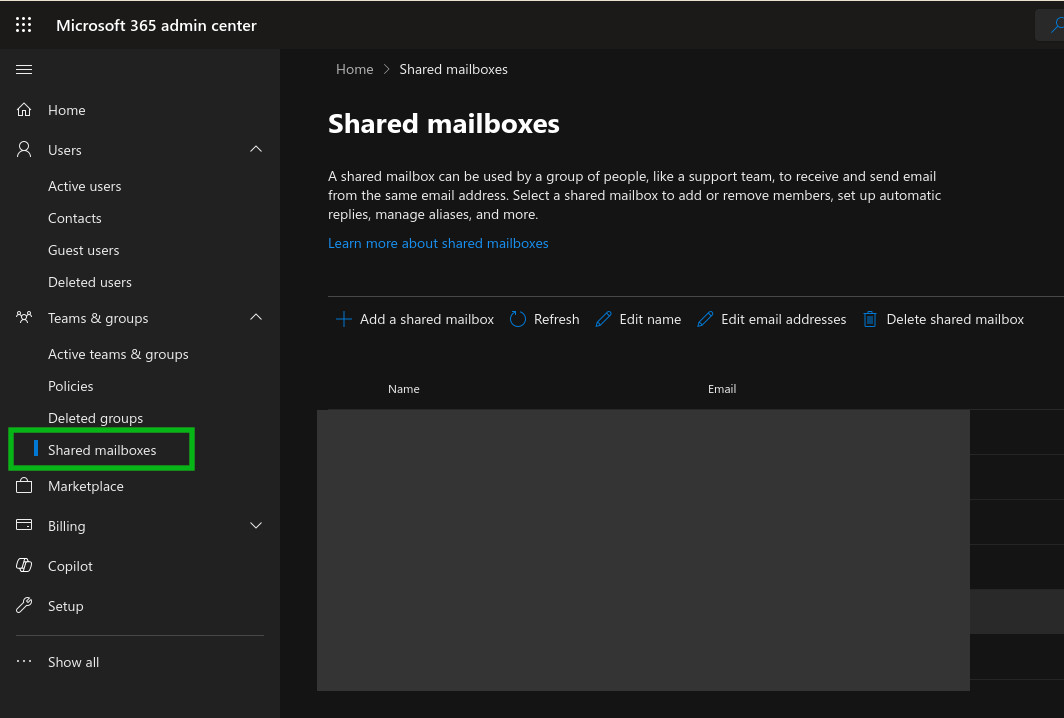
Shared Mailbox
Microsoft 365 admin center, https://admin.microsoft.com/, Teams & groups, Shared mailboxes…
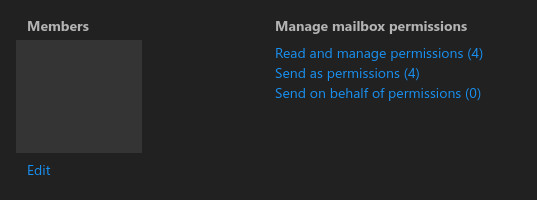
Add Members to the mailbox using Read and manage mailbox permissions:
You can add the shared mailbox to https://outlook.office.com/ by right clicking on Folders, then Add shared folder…
The shared mailbox can also be accessed on their own URL e.g. https://outlook.office.com/mail/info@hatherleigh.info/
Note
You may also need to do this if the shared mailbox is not showing up in Outlook on the desktop. Once you have visited the shared mailbox URL, it should appear in your Outlook client.
Tip
If you create the same mailbox for different domains (e.g. info@hatherleigh.info and info@pkimber.net) you will get issues. These can be solved, by Edit name, Edit email addresses and Show all, Admin centers, Exchange.
Microsoft Authentication
If a user is having issues with Microsoft Authentication, you can reset their authentication methods to allow them to set up the Microsoft Authenticator app again.
Access the Microsoft 365 Admin Center: Log in with appropriate administrator credentials.
Navigate to Active Users: Go to Users > Active users.
Select the User: Find and select the user whose Authenticator app needs to be reset.
Manage Multi-Factor Authentication: Locate the “Multi-factor authentication” settings (this might be under “Authentication methods” or “More settings”).
Require Re-registration: Choose the option to “Require re-register multifactor authentication” or a similar option like “Require users to provide contact methods again”.
Save Changes: Save the updated settings.
This action will remove the existing MFA configuration for the user, and they will be prompted to set up the Microsoft Authenticator app again, including scanning a new QR code, the next time they attempt to sign in.